When specifying labels for refrigerated products, describe two stages: the conditions when the label is applied and the conditions it encounters afterward. A label intended for chilled storage is not automatically suitable for application to an already cold container.
For buyers specifying labels for refrigerated products, the useful starting point is a short process description. Tell the supplier when filling, labeling and chilling happen, then evaluate a proposed label construction against that sequence.
MEIKEI primarily uses Avery Dennison label materials. For labels for refrigerated products, we can help select a suitable face material and adhesive combination around your container, labeling temperature and storage conditions. Share the full packing sequence so we can propose a material for sample evaluation.
Contents
1. Separate application and service temperatures
Minimum application temperature is the lowest recommended temperature for applying the label. Service temperature describes the recommended conditions after application. Avery Dennison distinguishes these terms in its adhesives glossary.
A service-temperature rating alone therefore leaves an important question unanswered: can this construction be applied under the conditions on your packing line?
| Stage | Record in the brief | Ask the supplier |
|---|---|---|
| During labeling | Container-surface and room temperatures; whether the surface is dry, damp or frosted. | Does the proposed construction suit these application conditions? |
| Between labeling and cooling | The actual interval before chilling, plus handling during that interval. | What conditions and time are needed for adhesion to develop? |
| During storage and use | Expected temperature range, duration and any changes during distribution or use. | What evidence supports suitability throughout this sequence? |
Use actual observations from the packing team. Specify °C or °F consistently, and identify where each temperature was measured. A cold-room setting should not silently stand in for the temperature of the surface being labeled.
Avery Dennison options to discuss for cold-use labels
Avery Dennison’s July 2021 cold-temperature overview for the SSA market gives these adhesive examples:
| Adhesive reference | Minimum application temperature | Service temperature range |
|---|---|---|
| S2045 / S2045N | 0°C | −40°C to +70°C |
| C2075N | −20°C | −50°C to +90°C |
The distinction matters: the listed S2045N service range does not authorize applying it at −20°C. The C2075N example has a different application limit. Neither figure alone approves a wet or frosted container.
Use these as starting points for a material discussion. For an order, confirm the currently available complete label construction and its latest regional data sheet, then evaluate it on your actual container. The examples do not establish that every named grade is stocked by MEIKEI.
2. Record whether labeling happens before chilling
Consider these two process descriptions. They are planning examples, not approved production methods:
- Label first, chill later: a dry container is labeled before entering refrigerated storage. Record the time between those operations and the conditions during that interval.
- Chill first, label later: a filled, cold container reaches the labeling station. Record its surface condition at that point, including any moisture, and tell the supplier if drying is part of the real process.
Keep the chosen material reference with this process description. A change in when the pack is chilled may require a new material review, even when the artwork stays the same.
When reviewing labels for refrigerated products, include both sequences if your line sometimes labels warm containers and sometimes cold ones. Approving only the easier sequence leaves the other one unresolved.
3. Describe condensation and moisture exposure
Make the moisture requirement specific: is the surface wet when the label first touches it, or does moisture appear later? Does the pack encounter occasional droplets, repeated wet handling or immersion? Record the relevant exposure and duration rather than grouping every condition under “waterproof.”
Ask the supplier to identify the face material, adhesive and printed finish in the proposed construction. UPM’s adhesive guidance directs buyers to technical specifications and performance data to confirm compatibility, and to application experts for selection and testing advice. A material name or the word “permanent” is not a complete specification.
For a comparison of face materials, see BOPP vs paper labels. If removal after use matters, add that requirement using the permanent vs removable adhesive guide. This article focuses on the cold-use process that accompanies those material decisions.
4. Review samples through the real packing sequence
Use the following as a buyer review plan for labels for refrigerated products, agreed with the supplier. It is not a standardized laboratory method or a substitute for a product-specific qualification.
- Identify the candidate. Record the sample reference, face material, adhesive reference, finish and label dimensions. Keep the actual container specification with it.
- Match the labeling conditions. Use the intended container and application method. Record temperature, surface condition and any preparation instead of assuming a clean room-temperature sample represents the line.
- Follow the real sequence. Reproduce the agreed interval before chilling, storage duration and relevant temperature or moisture changes. Ask the supplier to define any conditioning requirements.
- Inspect against agreed criteria. Check for edge lift, sliding, detachment, wrinkles and changes to printed information. Include code readability if codes are part of the label. Agree acceptable limits and inspection times before the trial.
- Keep an approval record. Photograph observations, retain sample identifiers and record who accepted the result. Reassess relevant changes to the container, label construction or packing process.
Use the packaging sample approval checklist to keep artwork approval separate from application-performance approval. An attractive print proof answers a different question from a trial on your filled container.
5. Write a brief for labels for refrigerated products
- Product and pack: contents, container material, coating, shape and label area.
- Label: dimensions, artwork versions, quantity per version and preferred appearance.
- Application: manual or machine; container-surface temperature; room conditions; dry, damp or frosted surface.
- Process order: filling → labeling → chilling, or your actual sequence; time between stages.
- Service: temperature range, storage duration, distribution changes and relevant moisture exposure.
- Approval: proposed sample trial, inspection points, acceptance criteria and decision owner.
- Supply: delivery destination and required delivery date for feasibility review.
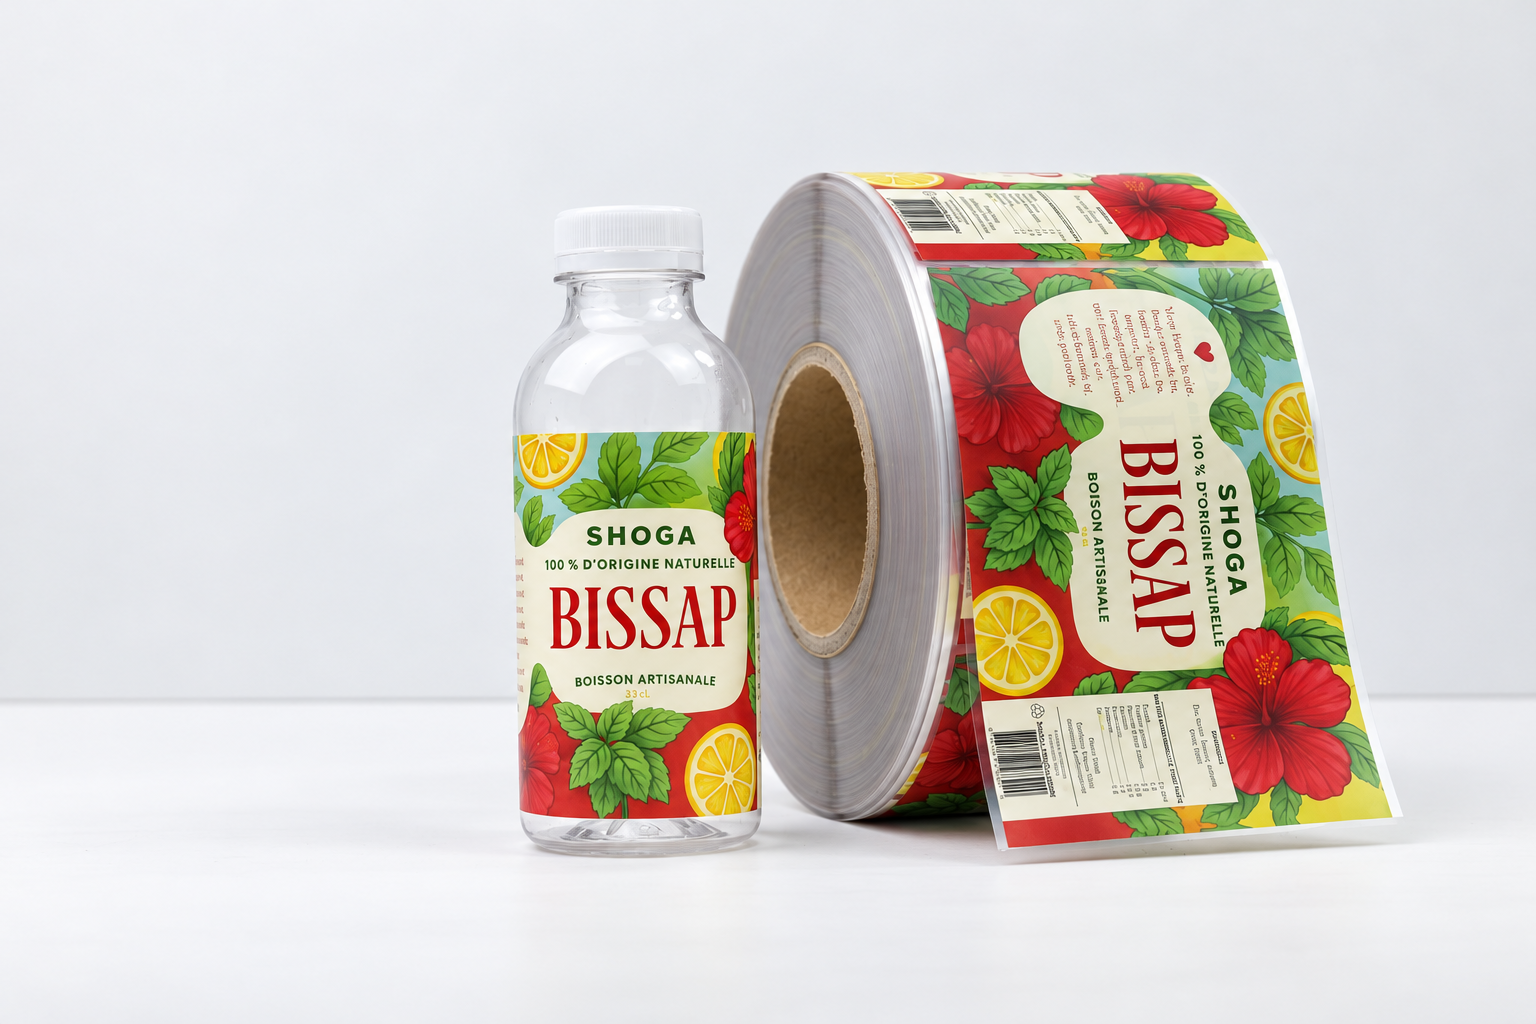
For machine-fed packaging lines, review custom roll labels and include the applicator’s roll requirements with this brief.
Need labels for refrigerated products? Send MEIKEI your container material, labeling temperature, storage temperature and artwork. We can help you select an Avery Dennison material option for review and arrange a sample proposal based on your requirements. Confirm the final construction and its application suitability before ordering.