Straight tuck end and reverse tuck end boxes differ in the direction of their end closures. With a straight tuck end carton, the two main closure panels follow the same orientation; with a reverse tuck end carton, they close in opposite directions. The choice affects the dieline, visible opening edges and how the carton is packed.
Start with the product, its display face and the packing method. Then compare the actual structures. A closure name alone does not establish a box’s load capacity, price or compatibility with a packing line. This guide helps you prepare a matched quotation for custom folding cartons.
Before choosing STE or RTE
- Mark the front panel and opening direction on the drawing.
- Compare the same internal size, board grade, print and quantity.
- Check the filled carton, including the bottom closure.
- Ask for a packing trial if a machine will erect, load or close the box.
What is the difference between straight and reverse tuck?
Inspect both ends of an assembled carton, then open it flat. Follow each main closure panel back to the body panel that carries it. This is more reliable than trying to identify the style from a closed front-view photograph.
Peczuh Printing’s folding-carton guide illustrates a straight tuck design with the closure edges on the back, leaving the front display panel uninterrupted. Its standard reverse tuck design has end panels that swing in opposite directions. Peczuh carton-style guide, PDF pages 4–5
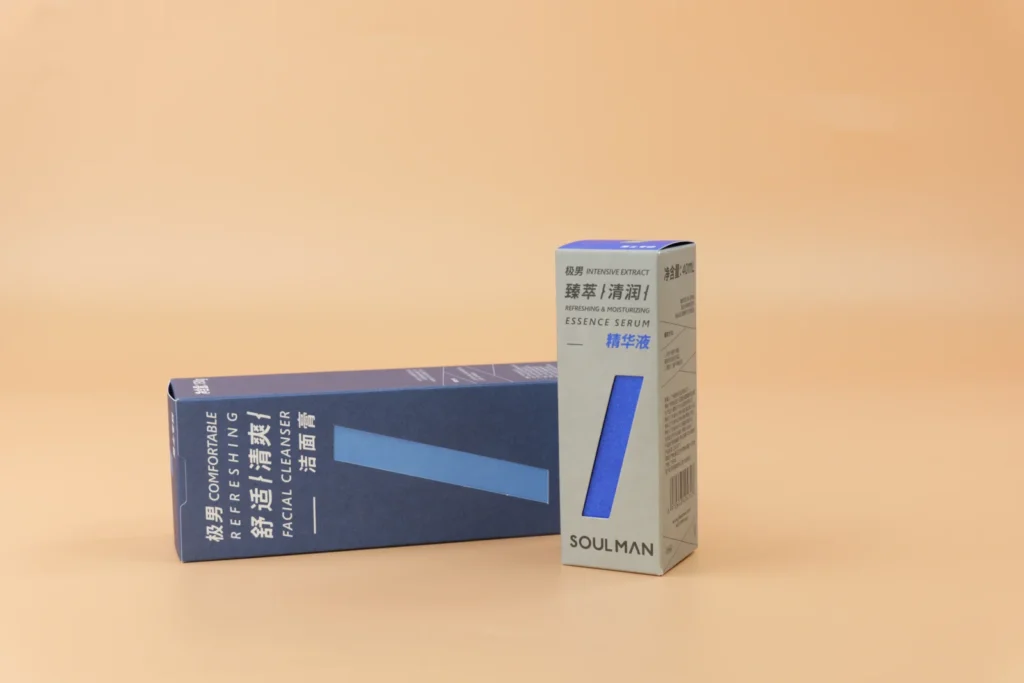
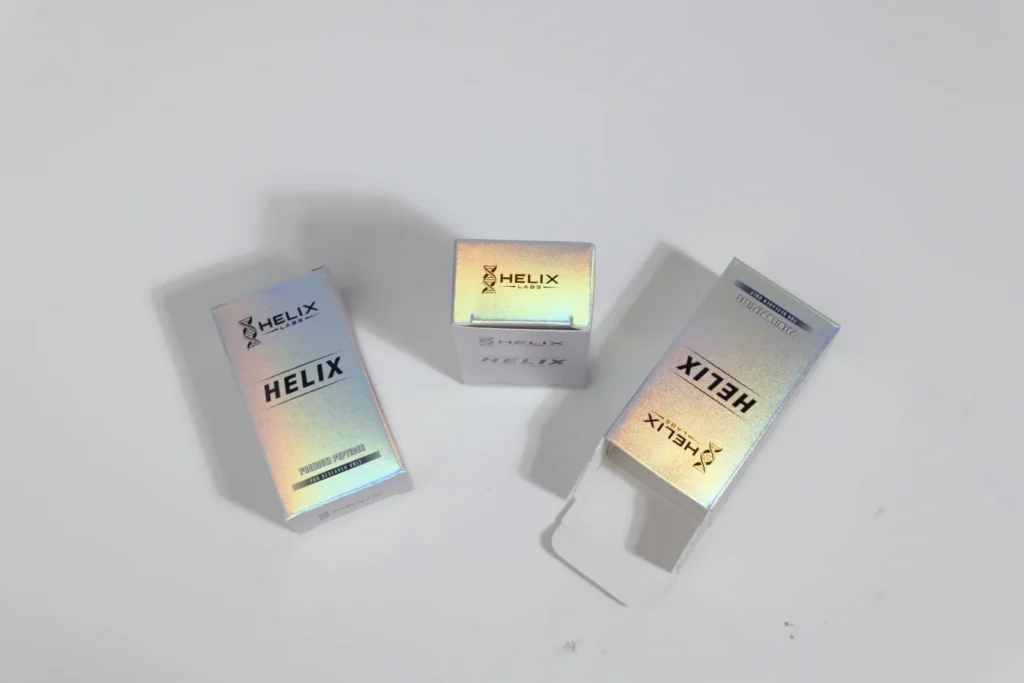
The product photograph accompanying this guide shows printed carton samples from MEIKEI’s library, including one with an open end. Use it as a view of carton flaps and presentation. A specific STE or RTE order should still be identified by its approved drawing, with both ends and the front face marked.
Straight tuck end vs reverse tuck end at a glance
| Decision | Straight tuck end (STE) | Reverse tuck end (RTE) |
|---|---|---|
| End-panel orientation | Both main closures follow the same orientation | Main closures follow opposite orientations |
| Drawing check | Identify the chosen front and both opening edges | Identify the chosen front and each opening edge separately |
| Display review | Check the uninterrupted face and any window position | Check how the opposite end arrangement affects the chosen face |
Supplier terminology can include variations within a style. QLM, for example, lists both standard straight tuck and airplane-style straight tuck, alongside reverse tuck. Pair the name with the dieline so both parties mean the same construction. QLM standard carton types
Which style should you choose for a retail display?
Choose the intended display face first, then inspect the carton from the customer’s viewing angle. Mark where you want the brand, product name, opening edge and any window to appear.
For either style, ask for a folded sample with the artwork positioned correctly. Place it on the shelf orientation you intend to use: standing upright, lying down or hanging. Check whether the opening action exposes an unprinted panel or rotates important text away from the intended view.
A premium appearance is not established by the letters STE or RTE. Printing, board, finish and the assembled shape all remain part of the brief. If you need foil or relief, identify those areas separately and use the embossing and debossing guide to prepare the artwork review.
The useful question for a quotation is specific: “Keep the opening edge off this marked display face,” or “The top must open toward the back in this shelf position.” A marked drawing gives the converter something concrete to check.
Is reverse tuck end always cheaper?
Ask for matched quotations; do not apply a standard percentage saving. QLM’s style guide identifies better nesting as an RTE advantage. Nesting concerns how flat blanks fit together on a sheet, so its cost effect depends on the actual blank and production layout. QLM’s RTE description
Ask the supplier to compare the quoted layouts using the same internal dimensions, board, artwork, finishes and order quantity. A change in stock or printing method can overwhelm the effect you were trying to isolate.
Separate the carton price from tooling, sampling, packing and freight where those are charged separately. Also ask whether a change of structure requires artwork adaptation or a new cutting tool.
For repeat work, record the approved specification and drawing revision. An attractive unit price is difficult to evaluate if the comparison silently changes the board thickness, finish or delivered quantity.
Is one tuck-end style stronger than the other?
Do not assign a safe product weight from the style name alone. Specify the actual product mass, fit, board and closure, then review a filled sample.
Both friction-fit and slit-lock options appear in QLM’s straight and reverse tuck descriptions. Identify which closure is being quoted, especially at the bottom; two cartons with the same broad style name may not have the same end detail.
Ask what should be inspected during the sample review: bottom engagement, panel distortion, product movement and how the package is handled. If an insert is needed, include it in the same review. A loose product inside a carton presents a different brief from a restrained product of the same mass.
Use the SBS versus FBB guide to discuss board selection, and confirm the proposed grade and thickness. A single GSM value does not fully describe the construction.
When should you consider a different bottom closure?
If the tuck-bottom sample or packing sequence does not suit the job, ask the converter to compare another base construction. Do this before treating a thicker board as the only possible adjustment.
PackMojo’s folding-carton range distinguishes tuck-end designs from a manually interlocking snap-lock bottom and a pre-glued auto bottom. These are different closure choices, rather than names for straight or reverse tuck. PackMojo closure configurations
Review the alternatives against your product, assembly method and quote. An auto bottom is not an automatic approval for every heavy product, and a manually assembled base still needs a defined closing sequence.
What changes when a packing machine is involved?
Provide the equipment information before finalizing the dieline. Ask the packing team to review the way blanks are presented, the product-loading direction, flap engagement and the closing sequence.
Request the machine supplier’s dimensional and construction requirements. Record which drawing revision they reviewed. If an insert, leaflet or inner pack is loaded with the product, include it in the trial rather than checking an empty carton alone.
Do not promise a packing speed from the carton style. Use the agreed trial to establish what the chosen package and equipment can do together. For hand packing, document the intended assembly sequence and check that the person closing the carton can see whether the bottom is properly engaged.
A worked specification comparison
The following is an illustrative buying brief, not a completed MEIKEI customer order or a tested package.
A brand wants a retail carton for a small bottled product. It requests both STE and RTE options with a proposed 40 × 40 × 120 mm internal size, 1,000 finished cartons, the same board grade and thickness, and the same outside artwork. These dimensions are inputs for comparison, not a recommendation for a particular bottle.
| Hold constant | Ask the supplier to compare |
|---|---|
| Product and proposed internal size | Fit, loading direction and any needed clearance adjustment |
| Board grade and thickness | Whether the proposed stock suits each reviewed structure |
| Outside artwork and marked front | Opening edges, panel orientation and artwork changes |
| Quantity of 1,000 cartons | Unit price, tooling and other separately quoted costs |
| Product, inner parts and packing method | Filled-sample behavior and assembly steps |
If one option needs a specification change, ask for the change to be shown explicitly. That turns a vague “Which box is cheaper?” discussion into a comparison of two identifiable packages.
Use the folding-carton dimension guide to label the dimensions consistently. Keep internal size separate from overall external size and the flat cutting layout.
What should be approved before production?
Approve the drawing revision, board specification, artwork and a representative assembled sample. Mark the intended front, top and opening direction on the approval record.
Check the filled carton in the intended orientation. Review closure engagement, product fit, inserts, readable artwork and the opening experience. If anything changes after approval, identify whether it affects the structure, printing or packing trial before proceeding.
The packaging sample approval checklist provides a place to organize those decisions. A digital artwork proof and an assembled physical sample answer different questions.
Request a straight or reverse tuck carton quote
Send the product dimensions and mass, proposed internal size, quantity, artwork, delivery country and packing method. Mark the desired display face, and say whether you want one structure or a matched STE/RTE comparison.
Start with the straight tuck end box or reverse tuck end box product page. MEIKEI’s starting minimum is 100 finished cartons; material, structure, tooling and sampling are confirmed for the job. Discuss your folding-carton specification.