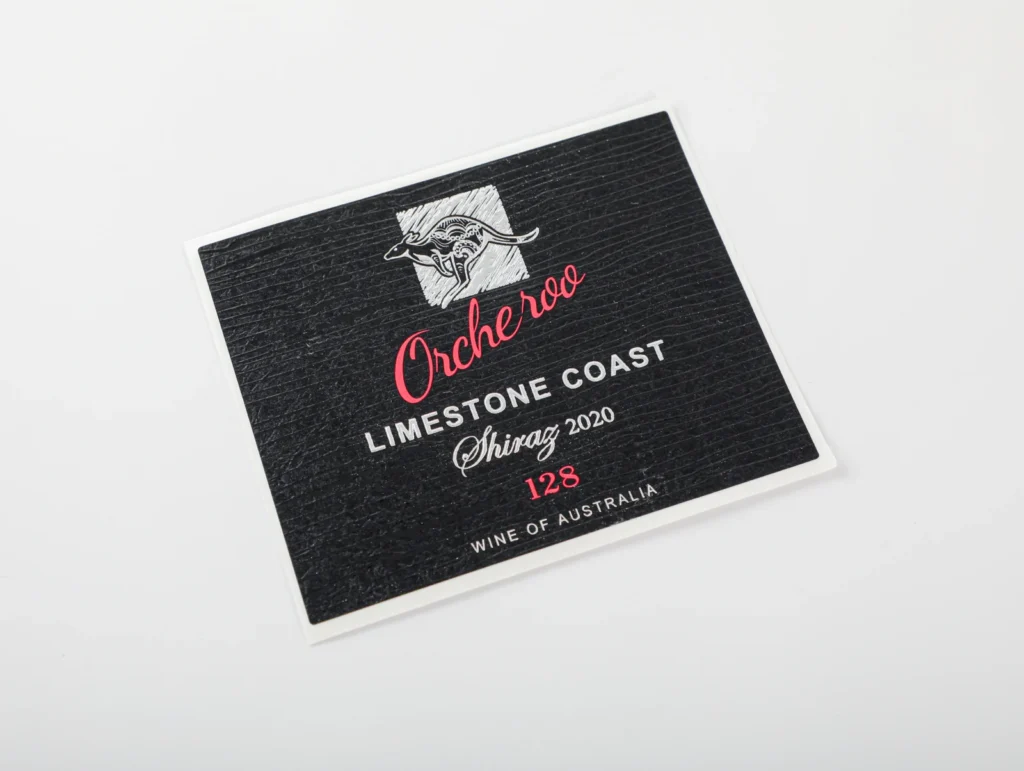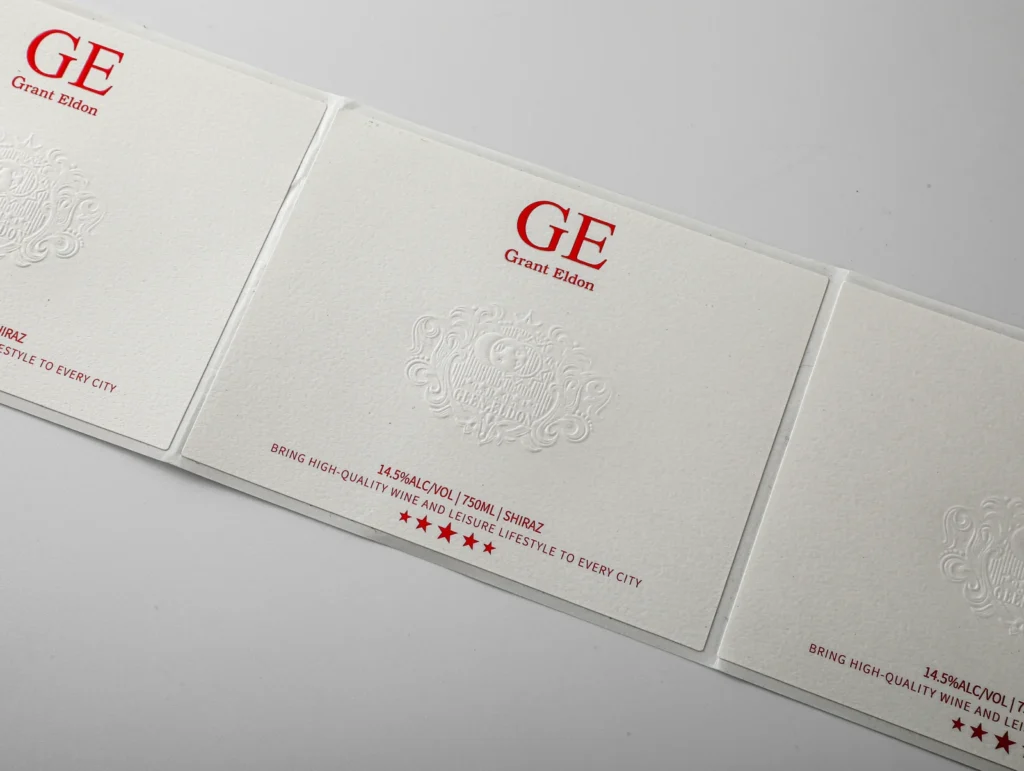
Embossing raises a design above the surrounding surface; debossing presses it below the surface. For a label or folding carton, the useful question is which effect keeps your logo clear while working with the paper, artwork and finished package.
A recessed logo is not automatically cheaper, and a raised logo is not automatically more durable. Ask for the effect you want, then approve it on the material you will actually order. This guide compares the two finishes for paper labels and paperboard packaging, rather than leather goods or home craft projects.
At a glance
- Choose embossing for a raised design and debossing for a recessed design.
- Specify metallic color separately: relief and foil are different decisions.
- Review the whole finished package, including label adhesion or carton folding.
- Compare quotations using the same material, artwork, quantity and sample requirements.
What is the difference between embossing and debossing?
The difference is the direction of the relief. Avery Dennison’s technical guide describes embossing as forming a raised image with paired dies; reversing the forming direction produces a recessed image. These processes change the surface shape rather than simply printing a shadow. Avery Dennison: label embossing
| Decision | Embossing | Debossing |
|---|---|---|
| Surface appearance | Design stands above its surroundings | Design sits below its surroundings |
| Brief to give your printer | Identify the areas to raise | Identify the areas to recess |
| Without an added color | Specify a blind emboss | Specify a blind deboss |
| With a metallic effect | Specify the foil and its alignment to the relief | Specify the foil and its alignment to the recess |
| Sample question | Are the raised edges and small details clear? | Are recessed details open and readable? |
| Final approval | Check the actual label or assembled carton | Check the actual label or assembled carton |
Use the table to describe a finish, not to declare one process universally better. A simple recessed wordmark and a sculpted raised crest are different production briefs, even when both are called “premium finishing.”
For the available material and finish combinations, start with MEIKEI’s custom labels and stickers.
Does embossing always include gold or silver foil?
No. Relief describes the shape; foil describes an additional decorative finish. You can request a raised mark with no metallic color, a flat metallic mark, or a metallic mark aligned with raised or recessed artwork.
KURZ explains that hot stamping transfers decorative layers using a heated die and pressure. Its guidance distinguishes this from blind embossing, where no stamping transfer occurs. KURZ: hot stamping and embossing
Write the intended result clearly in your brief:
- Blind emboss: raise the selected area without registering ink or foil to it.
- Blind deboss: recess the selected area without registering ink or foil to it.
- Foil plus relief: identify both the foil area and the raised or recessed area.
- Flat foil: ask for the metallic appearance without a deliberately sculpted relief.
A photograph with a bright gold logo does not, by itself, tell you whether the surface is raised. Request a side-lit detail photo and a physical sample if the tactile result matters.
How should you choose the paper or board?
Choose the finish together with the material. A paper’s name, grammage and color alone do not describe how a particular logo will form.
Sappi’s Prepress: Preparing Files for Print recommends supplying a paper swatch and a reference for the desired finishing effect. It identifies paper weight and surface finish as factors in the possible depth and bevel of an emboss. This is material-selection guidance, not a universal depth specification. Sappi prepress guide, printed page 9
Ask your converter to record the chosen stock, thickness, coating or lamination, and intended relief. If the stock changes after the sample is approved, ask whether the finish needs to be sampled again.
For a carton, include the dieline. Mark the proposed relief against the panel, fold lines, glue areas and printed text. Inspect the assembled box so the finish is judged in its final position. MEIKEI’s folding carton options show the structures that this discussion can start from.
What changes when the embossed design is on a bottle label?
A pressure-sensitive label has to adhere to a container as well as look right. Treat that bond as a separate approval item.
Avery Dennison warns that relief can create air pockets between an adhesive label and its bottle. For its wine-and-spirits application guidance, it recommends an unembossed perimeter of at least 5 mm, particularly when moisture exposure is a concern. That is the supplier’s stated design guidance, not a universal minimum for every label, adhesive or carton. Read the supplier’s application guidance.
Illustrative layout: on an 80 × 50 mm rectangular label, reserving 5 mm on each side leaves a 70 × 40 mm rectangle for planning relief. This arithmetic describes artwork space only. It does not approve a stock, emboss depth or adhesive, and it is not a MEIKEI test result.
Ask the converter to confirm the actual perimeter and relief pattern for your construction. State whether the bottle is stored dry, refrigerated or used in an ice bucket. For cold-use questions, see the separate guide to labels for refrigerated products.
What artwork should you send?
Send artwork that distinguishes print, relief and foil. A single flattened mockup leaves the printer guessing which visual effects need to become physical features.
A useful handover includes:
- The finished dimensions and the approved dieline or label cut line.
- The full-color design at its intended size.
- Clearly named vector artwork identifying the raised or recessed areas.
- A separate foil specification when foil is required.
- A combined visual showing how the layers should align.
- A reference sample or photographs, with the details you want to reproduce identified.
PrintNinja’s published setup instructions illustrate the separation principle: a full-color file and a separate single-color file for the emboss or deboss elements. Its numerical restrictions are specific to its products and should not be copied as universal label tolerances. Confirm MEIKEI’s production file requirements for the selected job. PrintNinja setup guide
Use the packaging artwork checklist to organize the files. Keep decorative relief distinct from any barcode or other feature that has its own readability requirements.
Is embossing more expensive than debossing?
There is no dependable price order without a matched specification. Ask for comparable quotations rather than applying a generic percentage to the print price.
Have the quotation identify these items separately where applicable:
| Cost item | What to clarify |
|---|---|
| Tooling | Is a new die required? Which artwork does it cover? |
| Setup | How many finishing operations are included? |
| Material | Are both options quoted on the same stock? |
| Foil | Is foil included, and over which area? |
| Sampling | What physical sample or proof is included? |
| Repeat order | Which existing tools can be reused if the design stays unchanged? |
Compare the same order quantity and artwork versions. If one quotation includes a physical sample and the other only a digital proof, they do not offer the same approval process.
For an early budget discussion, ask for a simpler relief option alongside the preferred design. Let the actual quotation establish whether simplification creates a worthwhile saving; do not assume a standard discount.
What should you check on the physical sample?
Check appearance first, then check the finished package in use. A close-up photo can help you discuss a detail, but it does not replace handling the sample.
For either finish: inspect small lettering, enclosed spaces, outline definition, print alignment and foil alignment where applicable. View it under front and side lighting. Record any mismatch against the approved artwork.
For labels: apply the sample to the actual container using the intended method. Agree with the converter on the conditioning and use conditions to review, then record edge lift, visible gaps or changes in appearance.
For cartons: assemble the sample, place the product inside and check the decorated panel during normal opening and closing. Look for visible damage or interference near folds.
Use the sample approval checklist to record the specification and agreed observations. A result from one sample applies to that sample and its conditions, not every stock or future order.
Frequently asked questions
Can the same label combine embossing and debossing?
Yes, both effects can be specified in a design. Mark their areas separately and have the converter review the material, spacing and production sequence. A real sample is the useful way to approve the combined effect.
Is a gold printed logo the same as foil embossing?
No. Color, reflection and physical relief are separate characteristics. State which of those you need rather than describing every gold appearance as “foil embossed.”
Which finish should I choose for a small logo?
Start with the actual artwork at its final size. Ask for a review of line widths, gaps and the surrounding design. Choose the version that remains clear on the approved material instead of relying on a general “emboss is better” rule.
Request a finish review for your packaging
Send your product type, label or carton dimensions, quantity, delivery country, artwork and a reference for the effect you want. Identify emboss, deboss, and foil separately so the quotation reflects the intended result.
MEIKEI’s starting minimum is 100 individual labels or 100 finished cartons. Material, tooling and finishing suitability are confirmed for the project. Discuss your label or carton finish.