A packaging dieline is the flat technical drawing that tells a converter where to cut, crease and assemble a package, and tells a designer where artwork belongs. For a folding carton, read the structure first: identify the finished panels, opening, glue tab and orientation before placing graphics.
You do not need to become a structural designer to review a dieline. You do need to distinguish the cutting outline from the finished box dimensions, understand the drawing’s legend and confirm that the file represents the carton you intend to order.
What is a packaging dieline used for?
PackMojo describes a dieline as a blueprint for printing, cutting and folding packaging. It connects a flat artwork file to a physical package. A product photograph or a rendered box can show the intended appearance; the dieline supplies the flat structure needed to position and produce it.
For a buyer, its immediate purpose is approval: does this revision represent the correct product fit, opening and visible faces? For the designer, it defines where graphics go. For the converter, it is part of the production information that must match the selected structure and material.
This guide focuses on folding-carton dielines. A label cut path, a rigid-box wrap and a corrugated mailer drawing have different structural requirements.
What do the lines and marked areas mean?
Start with the supplied legend. Never infer a manufacturing instruction solely from a line’s color. In its packaging prepress overview, Esko distinguishes cutting, folding, glue, bleed and safety information. The descriptions below explain how to read those features; the actual supplier file remains the reference.
| Feature | What it describes | What the buyer should check |
|---|---|---|
| Cut line | Where the blank is cut | The outline, openings and closure features |
| Crease or fold line | Where panels or flaps fold | Which face becomes the front, side, top or bottom |
| Glue area | The planned bonding area | Any supplier restrictions on print or finishing there |
| Bleed boundary | Artwork extending beyond a trim edge | Background coverage to the specified boundary |
| Safe area | A setback for important content | Placement of text, logos and other critical elements |
| Other structural marks | Features such as perforations, windows or partial cuts | Their meaning in this specific drawing’s legend |
The last row is a reminder to ask about unfamiliar marks. A dashed line is not automatically a crease: its meaning depends on the supplied convention. Have the converter identify any ambiguous feature before artwork approval.
How do flat panels become a carton?
Find the panel intended to face the customer, then trace the adjacent panels around the box. Locate the glue tab and the opening end. This simple panel map illustrates the reading process:
Use an unprinted structural sample or a clearly marked folded mock-up to check the sequence. Write “front,” “back” and “top” on the sample, then compare those faces with the flat drawing. A screen view of the flattened artwork can conceal a panel placed on the wrong side of the assembled carton.
For closure differences, see our straight tuck vs reverse tuck end box comparison. Confirm the selected opening direction on the actual dieline.
Why can the top-panel artwork appear upside down?
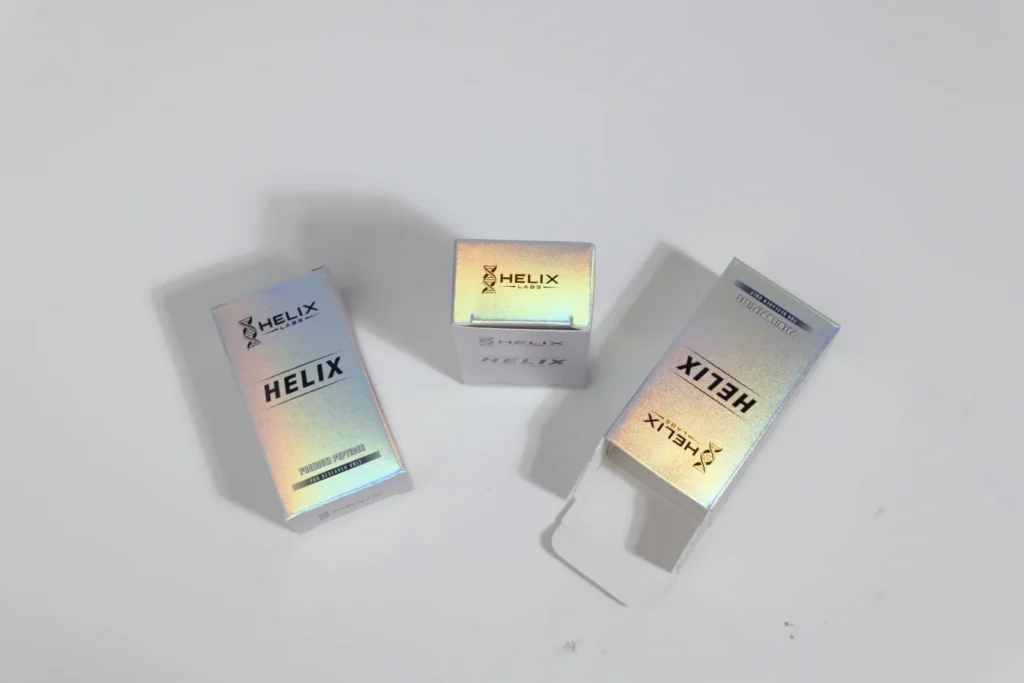
Artwork orientation depends on how the selected panel folds into position. It can look inverted in the flat file and read correctly after assembly—or the reverse.
PackMojo’s folding-carton design guide illustrates two choices of front face, with different implications for top-panel orientation. It also shows how overlapping bottom flaps can conceal artwork. These are reasons to review the assembled result, rather than a rule that every top panel must rotate by a fixed amount.
Ask for a proof that identifies the intended front and opening. Check the reading direction of the top panel, the position of any barcode and any text near overlapping flaps. If you change the front-face choice, repeat this check before approval.
Which dimensions describe the finished box?
The bounding rectangle around the entire flat dieline is not the finished carton size. It includes panels, tabs and flaps. Likewise, a dimension between two lines should not be treated as an internal product clearance unless the drawing identifies it that way.
| Dimension or area | What to establish | Common purchasing mistake |
|---|---|---|
| Product dimensions | Actual item, including closures and protrusions | Measuring only the main body |
| Finished internal size | Usable size agreed with the converter | Treating an external measurement as product clearance |
| Finished external size | The assembled package’s outside dimensions | Using it interchangeably with internal size |
| Flat blank dimensions | The unfolded structure’s overall extent | Ordering a carton using the artwork-board size |
| Bleed extent | Extra printed area beyond specified trim edges | Adding it to the finished box dimensions |
Use consistent units and ask the supplier to label its dimension convention. Our folding-carton measurement guide explains how to prepare a usable size brief.
How much bleed should a dieline have?
Use the value specified for that job. Bleed and safe area are different: bleed extends artwork outward past a cut edge; the safe area keeps important content inward from relevant boundaries.
For example, PackMojo’s artwork instructions specify their own bleed and safety settings and separate the artwork from the dieline layer. Those settings should not be copied onto a different supplier’s drawing without agreement.
Here is a hypothetical calculation, not a MEIKEI production specification: if a separate rectangular cut piece is 60 × 40 mm and its drawing requires 3 mm bleed on every outer edge, the background artwork extends to 66 × 46 mm. The cut piece remains 60 × 40 mm. This example does not size a whole carton or determine how artwork crosses its fold lines.
On a carton, follow the approved drawing around the complete structure. Do not add a separate bleed border to every panel as though each were an independent cut piece.
Can you resize a downloaded dieline template?
A downloaded template can help describe the style you want. Have the converter confirm or replace it for your dimensions, material and assembly method before committing artwork.
Do not simply enlarge the complete drawing and assume the structure is approved. That changes tabs, slots and other features along with the main panels. A change to product size or board specification belongs in a structural review, followed by an updated drawing and fit check.
Once the structure is agreed, use our packaging artwork checklist for the separate print-file handover: artwork revision, colors, fonts, finishing layers and proof approval.
What should you approve before the artwork is released?
Record the dieline filename and revision, then confirm these five points against the same version:
- The specified internal or external dimensions and units are understood.
- The front face, opening direction and glue position match the intended carton.
- Text and graphics read correctly on the assembled sample or proof.
- Critical content clears the required boundaries and overlapping flaps.
- The converter has confirmed the drawing for the proposed material and production route.
Keep approval attached to that revision. If the structure changes later, send the designer the updated file and review the artwork on it again. A clear version trail prevents an approved design from being applied to an obsolete drawing.
What if you do not have a dieline yet?
Send the product dimensions, a product photo, any sample container, the intended carton style and your order quantity. Explain whether the carton will be packed by hand or on a machine, and show any insert or window requirement. This is a more useful starting point than guessing the dimensions of a flat template.
MEIKEI accepts folding-carton enquiries from 100 finished cartons. Explore our folding-carton options and packaging design support, or send your product details for a quote. If you already have a drawing, include its units and revision so it can be reviewed with the product requirements.