Before sending packaging artwork to print, confirm the correct dieline, content, bleed, safe areas, fonts, images, color intent and finishing layers. Then approve one clearly identified production version. A realistic mockup is useful for discussion, but it is not a substitute for a checked print file.
This checklist is for the handover between a brand, designer and packaging supplier. Exact file settings depend on the printing process and selected construction. Ask for the supplier’s requirements before building the final file, not after the design has been signed off.
1. Start with the approved structure
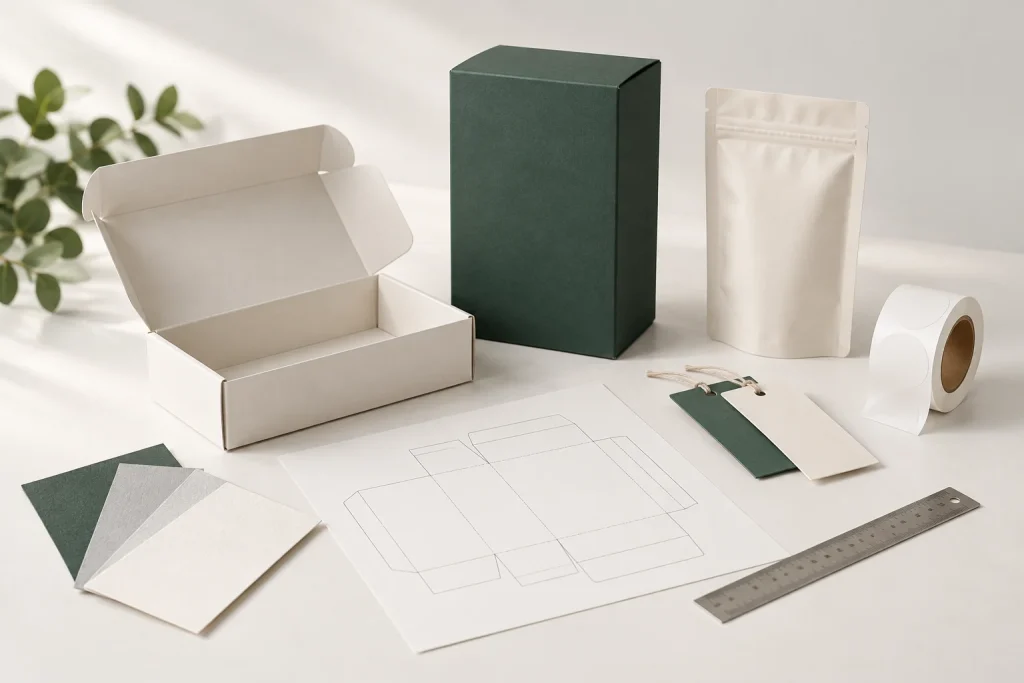
Use the dieline issued for the agreed size and construction. Confirm the revision, units and scale, and identify the printed side. Do not resize a screenshot of a box template to make it fit the product.
Check which panels become the front, back, top and inside after assembly. Place a paper mockup around the actual product if there is any doubt about orientation. A small structural change can move folds or glue areas, so artwork may need a fresh review when the dieline changes.
2. Separate bleed, safe areas and structural lines
Bleed extends graphics beyond the cut; a safe area keeps important content away from vulnerable edges and folds. Cut, crease and glue information belongs in clearly identified structural layers. These are standard prepress distinctions explained in Esko’s packaging prepress overview.
Use the measurements supplied for this job. There is no single bleed or safety value that should be imposed on every carton, label and pouch. Keep your original artwork editable and confirm how the structural layer should be handled in the exported production PDF.
3. Proofread the content at final size
- Verify the product name, SKU, variant, quantity and language version against the approved content list.
- Check spelling, punctuation, URLs and contact details on every panel. If a QR code is included, confirm that its destination opens the approved page.
- Have the responsible person approve required product information for the intended market.
- Review small text and reversed text at the actual print size, not only while zoomed in.
- Check multilingual versions individually rather than assuming the layout accommodates every translation.
Keep content approval separate from visual approval. A designer can place the supplied information correctly without being the person authorized to confirm its accuracy. Name that approver in the handover record.
4. State the color and finishing intent
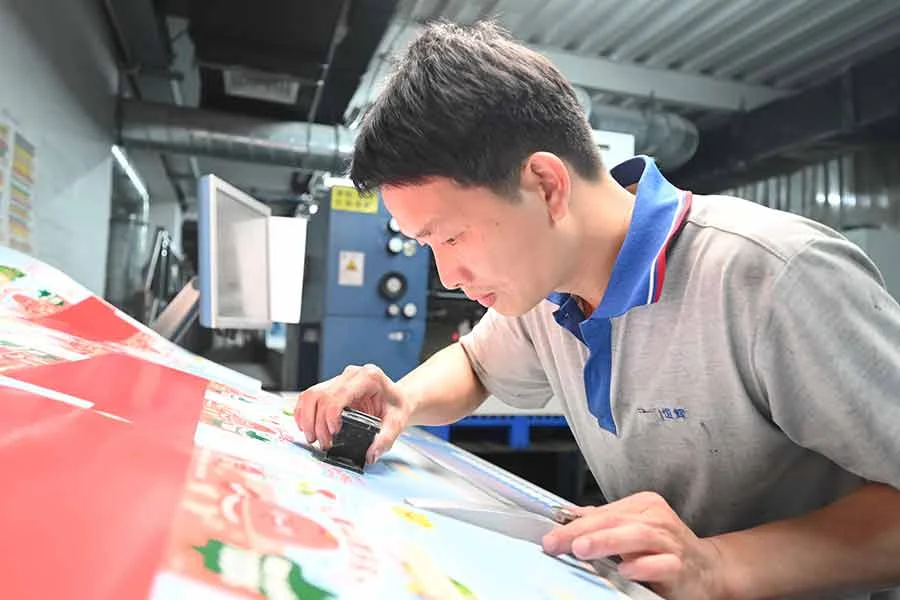
Tell the printer which colors are process colors, which are intended spot colors and which require an agreed physical reference. Screens are not a dependable contract for a printed color on a specific substrate. Include white ink requirements for clear or metallic materials when relevant.
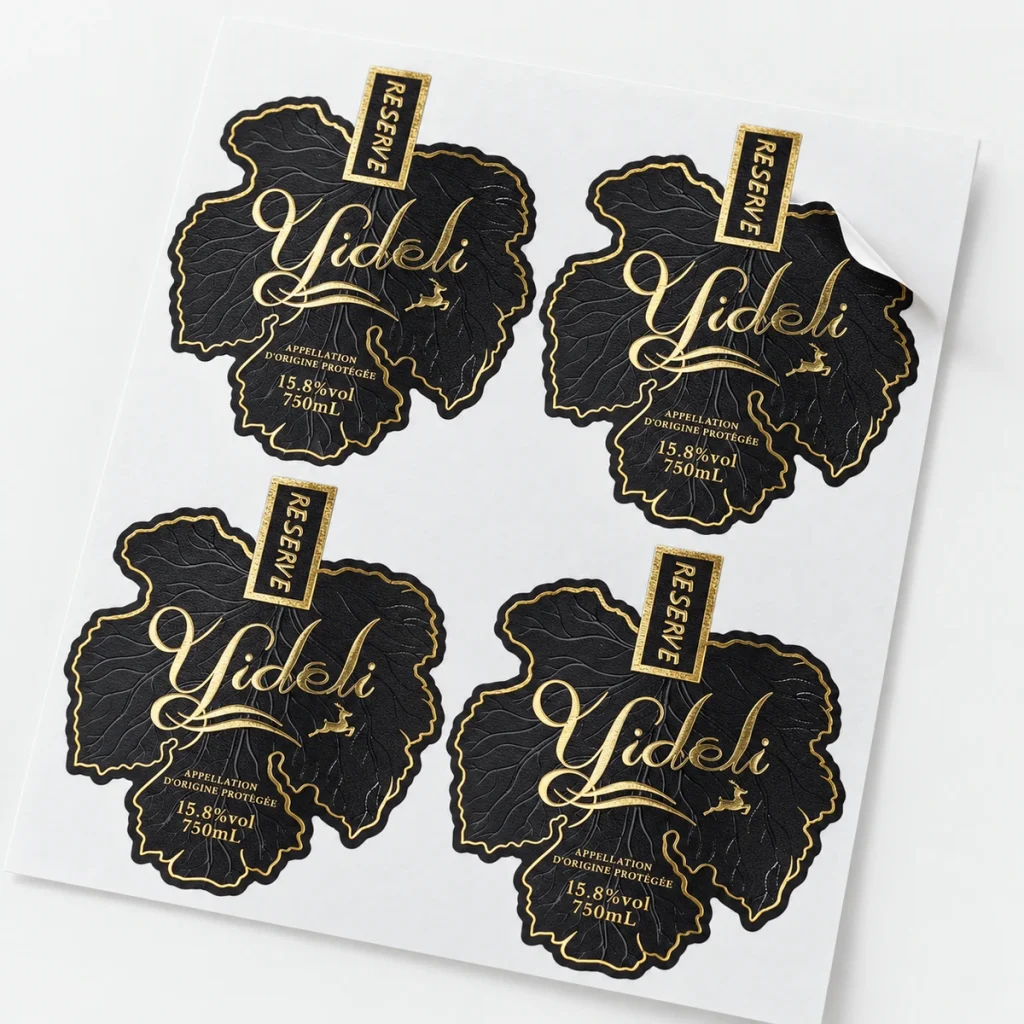
Give foil, embossing, spot coating and other selective effects their own clearly named artwork layers according to the supplier’s instructions. Avoid building a gold-looking gradient and assuming it communicates a foil requirement. Our packaging finish guide separates the appearance from the actual surface treatment.
5. Check fonts, images and barcodes
Package linked images with the working file, or embed them as agreed. Follow the required approach for embedded or outlined fonts, and keep an editable master for future changes. Confirm image quality at final size; increasing the export resolution does not restore detail missing from a small source image.
Confirm the required PDF preset, page size and output profile with the supplier. Ask prepress to review transparency, overprint and spot-color separations before approval. Keep cutting and finishing marks separate from printable artwork as instructed.
Keep barcodes away from folds, seams and graphics that interfere with reading. The required quiet zone depends on the code type; GS1’s retail 2D barcode guidance stresses preserving that space. A quick phone scan is not a replacement for the appropriate print-quality verification when one is required.
6. Send a version-controlled handover
| File or record | Include |
|---|---|
| Production artwork | SKU, size, revision and date in the filename |
| Reference visual | An assembled view for orientation, clearly separate from production artwork |
| Specification | Material, print sides, colors and finishing instructions |
| Approval record | Named approver, approved file, proof/sample reference and unresolved items |
If several people comment, consolidate their changes into one marked-up version. Withdraw superseded files from the handover folder so a filename such as “final-final-new” does not become the production control system.
7. Approve the right proof
A PDF proof can confirm layout and content, while physical samples answer different questions about materials, fit and finish. Agree what each proof represents and what remains to be checked using the sample approval checklist.
For help connecting artwork with structure, explore packaging design support. If the project includes instruction booklets, send the page order and binding direction alongside the booklets and manuals brief. Use the quote checklist to make clear which design work is complete and which work needs pricing.
Download the artwork handover checklist
Record your dieline, artwork version, special layers and approval owner in this blank worksheet.
Download the blank CSV worksheet · Browse all buyer resources
Published by MEIKEI Printing as general packaging planning guidance. Material suitability, product performance and production details must be confirmed for your actual specification. Linked technical references support the relevant points; illustrations are not test evidence.