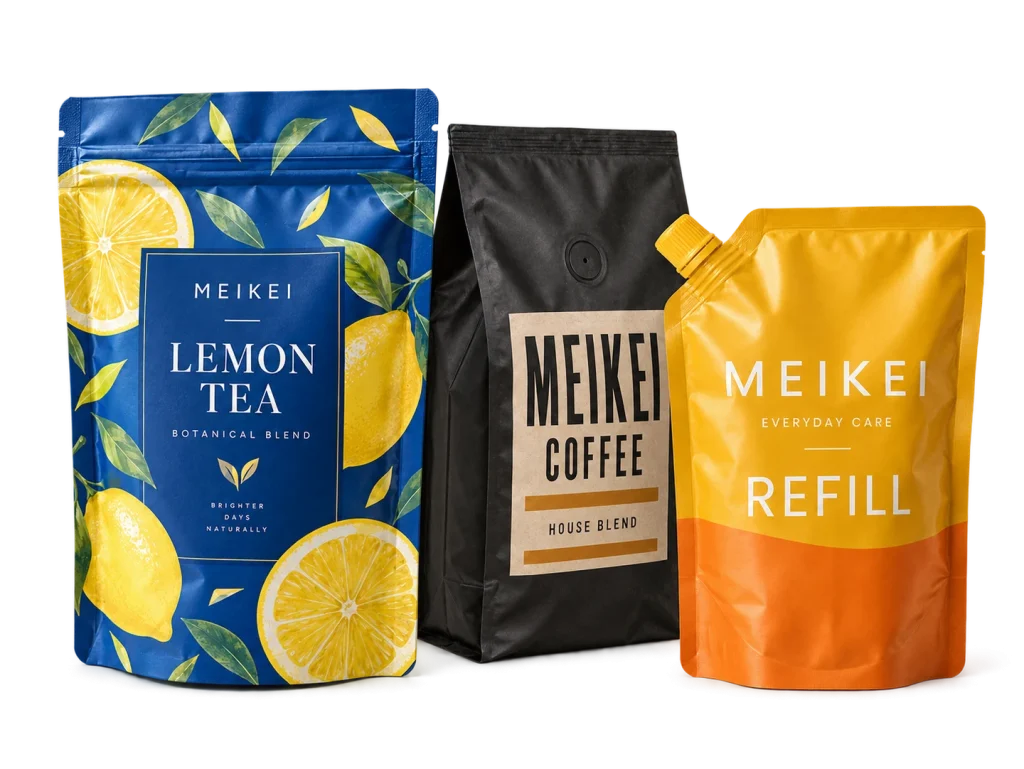
A conventional bottom-gusset stand-up pouch opens into a supporting base when filled. A flat-bottom pouch has a more defined box-like base and side panels. Both can stand upright, so ask for a structural drawing—not just a “stand-up” label—when comparing quotes.
The shape alone does not establish capacity, barrier performance or suitability for your filling process. A pouch chosen for a photograph may be awkward to fill, unstable at the intended fill level or too small once seal areas and a zipper are accounted for.
What changes between the two formats?
| Decision | Bottom-gusset stand-up | Flat-bottom |
|---|---|---|
| Base | Expandable bottom gusset | Defined base with side panels |
| Artwork planning | Front, back and gusset areas | Front, back, side and bottom panels |
| Filled appearance | Depends on gusset opening and fill | More box-like when correctly filled |
| Approval priority | Stability, bulging and usable volume | Base formation, panel alignment and filling access |
These are structural comparisons, not a fixed price ranking. Ask for both options using the same intended fill, material requirements, print specification and quantity. Changing several variables at once makes the price difference difficult to interpret.
Choose size using the real product
A stated gram capacity is not a universal pouch size. Coffee beans, fine powder and loose tea occupy different volumes at the same weight. Share the product, target fill weight and any headspace requirement, then conduct a fill trial with the proposed construction.
Ask the supplier to identify which dimensions are overall and which are usable. Seal widths, gussets, zippers and opening clearances all affect the space available. During the trial, check that the bag closes without product trapped in the seal area and still presents as intended on a shelf.
Specify the barrier independently of the shape
The pouch format does not tell you its oxygen, moisture, aroma or light barrier. Start with the product’s sensitivity and intended storage conditions, then request a suitable film construction and supporting technical information. ProAmpac’s stand-up pouch overview describes high-barrier pouches with options such as custom shapes and fitments. It is an example of the specifications available within one supplier’s range, not evidence of the performance of another pouch.
For a food application, ask what documentation applies to the proposed material, product and market; do not infer suitability from an empty sample or a general material name. Shelf-life expectations need product-specific validation. A clear window also changes the visual and material brief, so include it in the first specification.
Match the closure to how the pouch is used
- Zipper: useful for repeated access, but it should not be assumed to replace the initial seal required by the package.
- Tear notch: an opening feature that needs to be positioned with the seal and zipper layout.
- Valve: a product-specific option to discuss, not a feature every coffee or food pouch automatically needs.
- Spout: introduces fitment, cap and filling considerations; treat it as its own structural development.
Show the filling team the proposed pouch before approving it. Confirm where it will be filled, the opening they need and what sealing equipment will be used. A small manual trial does not establish compatibility with an automated line.
Design around the filled shape
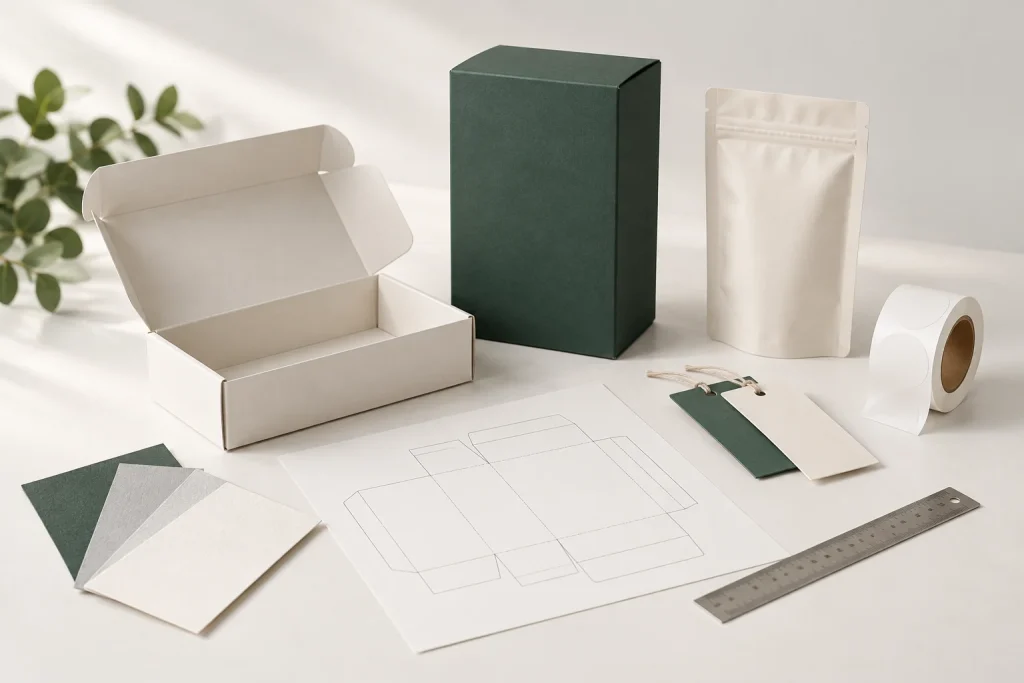
Ask for the selected pouch’s final dieline. Put the main brand message where it remains legible after filling rather than across a gusset transition. Check the back-panel copy, barcode position, zipper zone and seal areas on a filled sample.
Our artwork handover checklist covers version control and separation of structural and printed elements. For a range of flavors or sizes, create a SKU list so artwork and fill specifications stay connected.
What to send with a pouch enquiry
Include the product, fill weight, expected storage, filling method, closure, desired window, artwork count and order quantities. If you are replacing a current pouch, send an empty sample and explain what should improve. Explore custom pouch styles, then use the quote checklist and sample approval guide to turn the preferred format into an agreed specification.
Published by MEIKEI Printing as general packaging planning guidance. Material suitability, product performance and production details must be confirmed for your actual specification. Linked technical references support the relevant points; illustrations are not test evidence.